Supports in Bambu Studio: Settings, Support Filament and Fixes
Published · Bambu Studio 2.8 and every current Bambu printer, from the A1 mini to the H2C
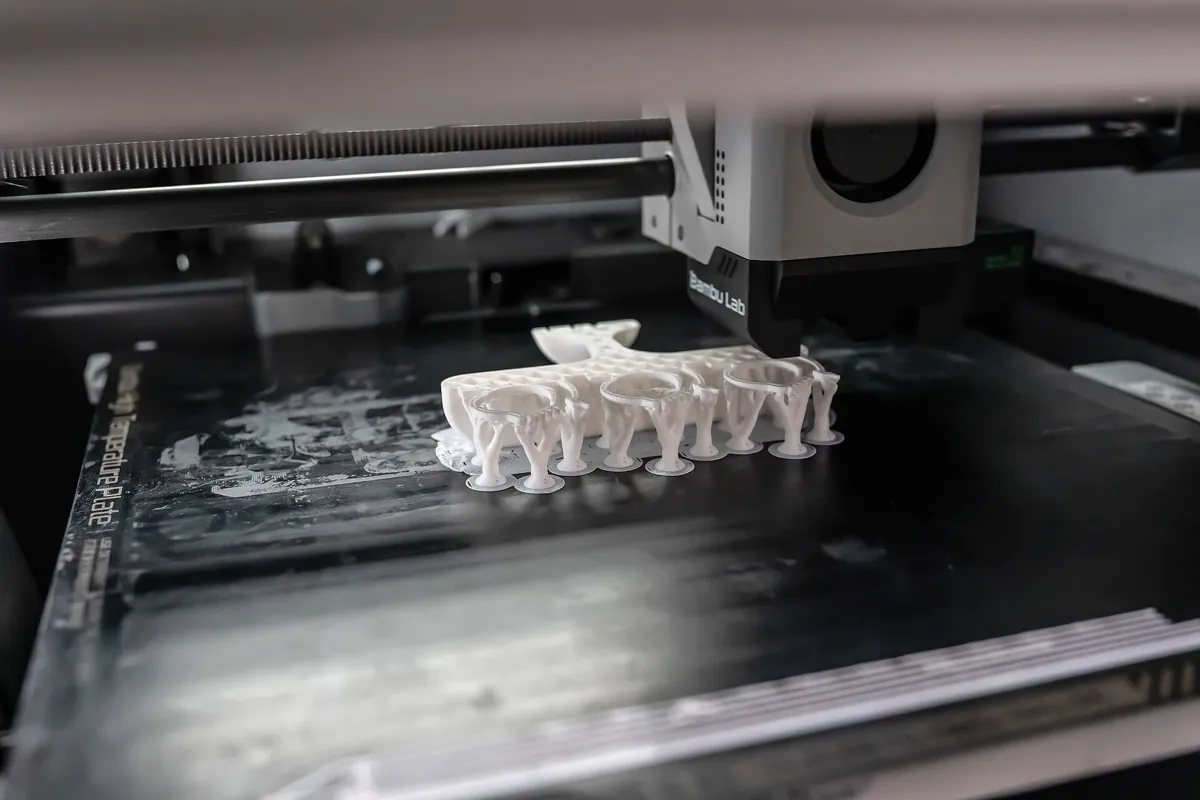
.jpg)
Short version
Supports are switched off in Bambu Studio until you enable them. Once on, you get tree supports that kick in below 30 degrees, a 0.2 mm gap between support and model, and two interface layers. That default is right for most single-material prints. Most complaints come down to three adjustments: use normal or hybrid supports under big flat overhangs; trade gap against surface (a bigger gap peels easier, more interface layers or support ironing give a cleaner underside); and if you have an AMS, print only the interface in a material that does not bond to your model. That can be Bambu's Support for PLA, or simply PETG under PLA and PLA under PETG, with zero gap. Save PVA for geometry you cannot reach, and only print it dry.
What you get when you tick “Enable support”
Bambu's base process profile ships with supports disabled, so a fresh project prints every overhang unsupported until you switch them on. Once you do, these are the values it starts from. They come from the profile file Bambu Studio itself is built with, not from a tutorial, and the printer-specific 0.20 mm presets for the X1C, P1P, A1 and H2D do not change them.
| Setting | Default | What it controls |
|---|---|---|
| Type | Tree (auto) | Where supports come from: detected automatically, or only where you paint them (manual) |
| Style | Default | Resolves to Tree Organic, or to Tree Hybrid when a support material or adaptive layer height is in use |
| Threshold angle | 30° | Surfaces flatter than this get support; a higher value means more support |
| Top Z distance | 0.2 mm | Air gap between the support top and the model; bigger peels easier, smaller looks better |
| Bottom Z distance | 0.2 mm | The same gap where a support stands on the model instead of the plate |
| Support/object XY distance | 0.35 mm | Sideways gap that keeps supports off vertical walls |
| Top / bottom interface layers | 2 / 2 | Dense layers where the support meets the model; more top layers mean a flatter underside |
| Interface spacing | 0.5 mm | Gap between interface lines; smaller is denser and harder to peel |
| Tree branch angle / diameter | 45° / 2 mm | How far branches can lean out, and how thick they start |
If you only remember one of these, make it the threshold. Bambu calls 30 degrees a safe angle for most materials to print without support. Raising it puts supports under more surfaces, which costs time and leaves more marks to clean up. Lowering it is the quicker fix when a model is drowning in support it does not need.
Normal or tree: decide by the shape of the overhang
The two families work differently. Normal supports take the overhang and project it straight down to the plate. Tree supports sample the overhang into points, called nodes, and grow them downward as branches that thicken and merge, and that can bend away from the model so they do not collide with it. Bambu offers both in an automatic and a manual flavour, where manual means support appears only where you paint it.
Normal
- Default style Grid
- Tight style Snug
- Large planar undersides better surface
- Under PVA recommended
Tree
- Styles Organic, Slim, Strong, Hybrid
- Material and time less
- Complex shapes stronger
- Under PVA avoid
The four tree styles differ in how aggressively branches merge. Slim merges hard and compensates with thicker walls, so it uses the least material. Strong merges conservatively, which gives sturdy branches that can be harder to remove. Organic grows smooth, curved branches, an approach Bambu ported from Cura via PrusaSlicer. Hybrid generates a normal grid under big flat regions and tree branches everywhere else, which is why Bambu calls it a safe general choice: under a large flat overhang it simply becomes a normal support.
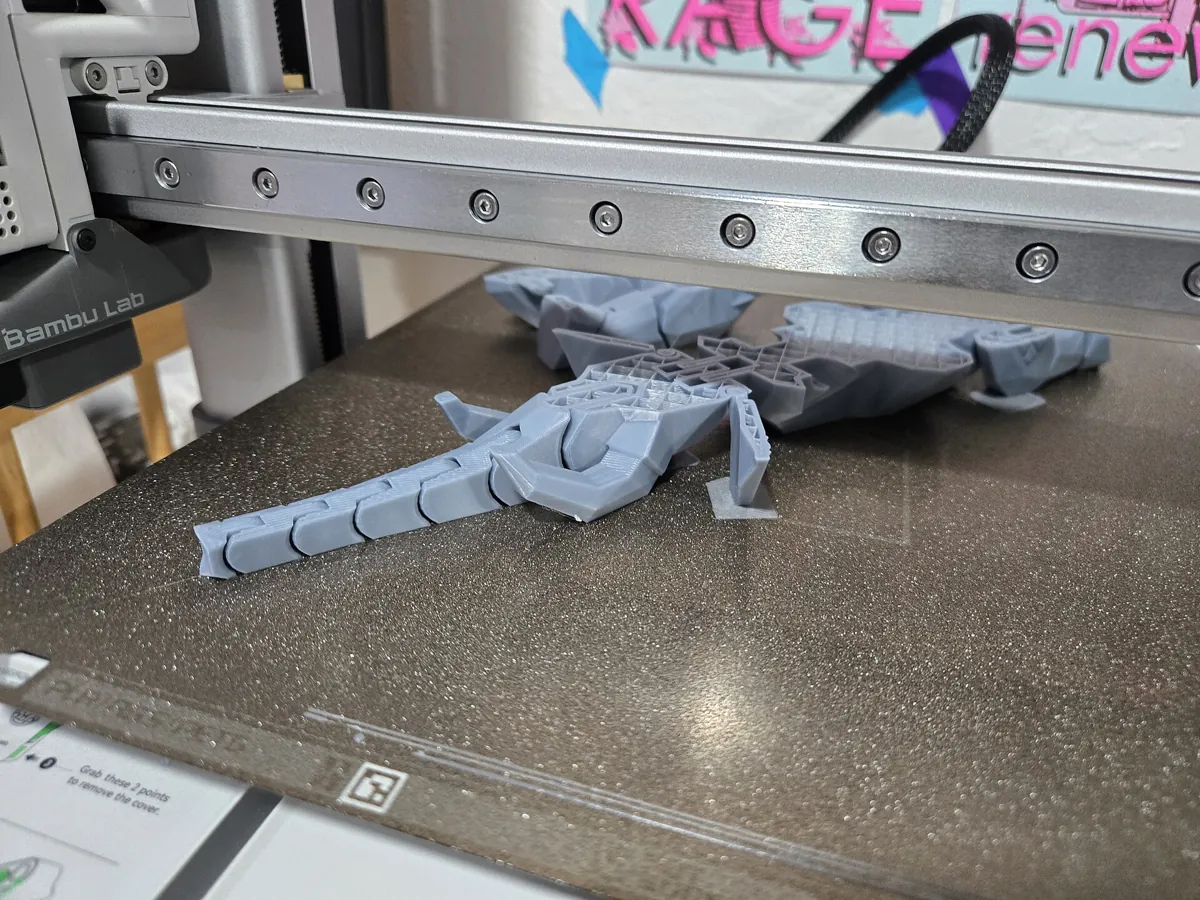
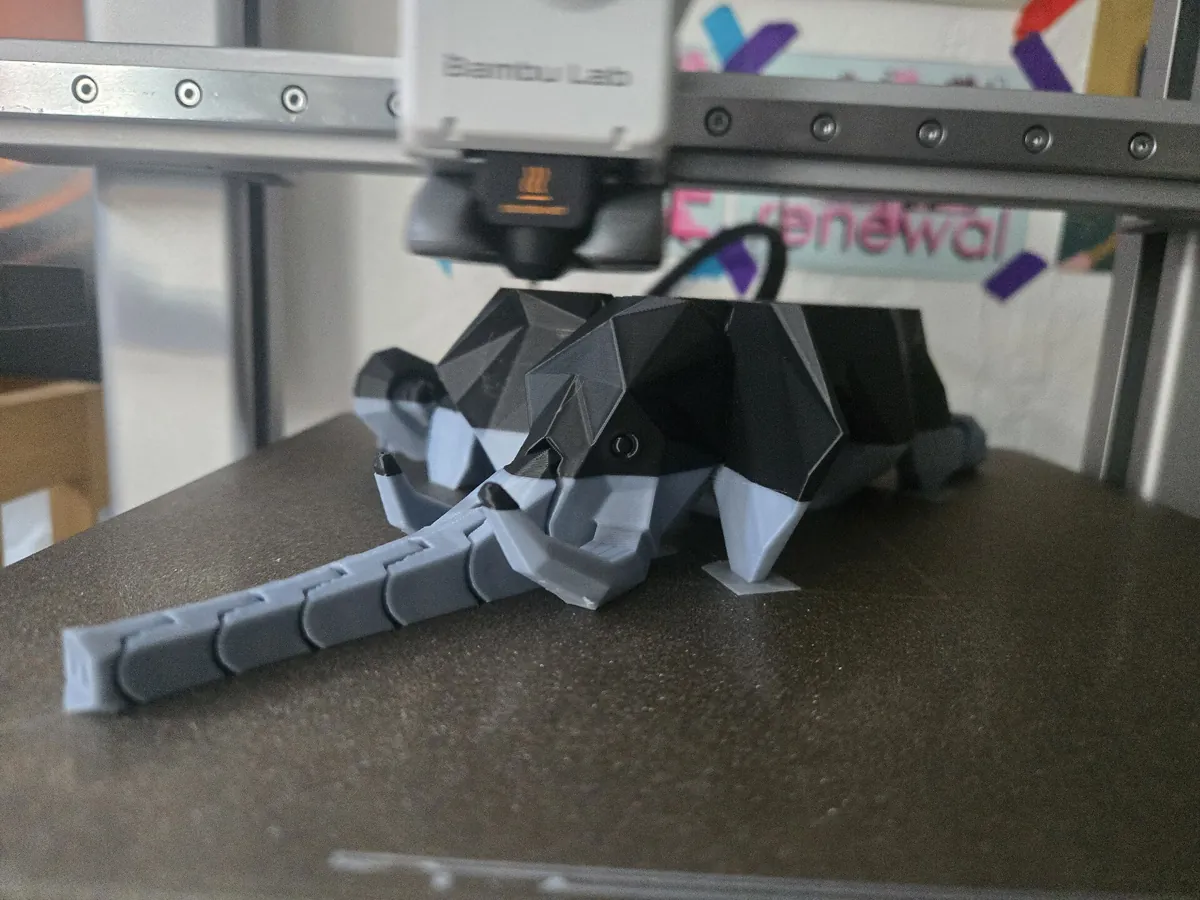


Bambu has also kept fixing the tree code. Version 2.5.3 added a chamfer at the foot of tree supports to make them less likely to topple, and 2.8.2 fixed branches that started in mid-air or floated with nothing underneath, and switched on lightning infill reinforcement for internal cavities with organic tree supports by default. If you last fought tree supports on an older version, update before you change settings.
The two gaps that decide removal against surface
A support has to come off again, so the slicer leaves an air gap between its top and the model: the top Z distance. That gap is a trade. Bambu's own summary is short: a bigger gap makes removal easier and the supported surface worse, a smaller gap the opposite.
With one material for model and support, keep it near the default 0.2 mm. Bambu explicitly advises against zero in that case, because the support then fuses to the part. Zero is only meant for a dedicated support filament, which is designed not to bond.
The second lever is the number of interface layersThe dense top (and bottom) layers of a support, printed directly under the model. The rest of the support, the base, is sparse.. With zero top interface layers the model's first layer over the support has almost nothing to rest on and sags between the support lines. With three, the support builds a flat, closed platform first. Bambu adds a caveat worth knowing: the underside only becomes completely free of sag when the top Z distance is also zero, which again means support material.
Three newer options help without a second material:
- Support interface ironing (since Bambu Studio 2.5.0) irons the support interface for a smoother supported surface. Bambu pitches it specifically for prints without support material.
- Z covering XY (since 2.3.0) puts supports directly under sloped overhangs even where that conflicts with the sideways XY gap, while keeping the top Z gap. Bambu says it improves both contact and removal on sloped surfaces, especially with support materials.
- Independent support layer height lets supports print at their own, thicker layer height, which shortens prints with a lot of support.
Peel supports off within two hours
For nylon parts (PA, PA-CF, PA6-CF, PA6-GF) and for the moisture-loving support filaments PVA and Support for PA/PET, Bambu says to remove supports within two hours of the print finishing. Left longer, they absorb moisture, soften and stick. If you missed the window, dry the whole part, let it cool, then remove the supports.
Support filament: a zero gap and a clean underside
A support filament is a material chosen to touch your model without bonding to it. That is what makes a zero gap possible: the underside prints as cleanly as a top surface, and the support still breaks away. Bambu's recommendation for most cases is to print only the interface in support filament and the base in your model material, which saves time and filament. Here is what Bambu sells and what each one pairs with:
| Support filament | For models in | Keep in mind |
|---|---|---|
| Support for PLA | PLA, PLA-CF (not PLA Aero) | Breaks away by hand; Bambu lists it among the filaments to dry before printing |
| Support for PLA/PETG | PLA, PLA-CF, PETG, PETG-CF | All printers, nozzles and AMS units; never on the first layer of a Cool Plate SuperTack |
| Support for PA/PET | PA, PA-CF/GF, PA6-CF/GF, PAHT-CF/GF, PET-CF/GF | Not on A1 series or P1P, not in the AMS lite, not with a 0.2 mm nozzle; very hygroscopic |
| Support for ABS | ABS | Based on HIPS; dissolves in d-limonene; same printer limits as Support for PA/PET |
| PVA | PLA, PLA-CF/GF (not PETG) | Dissolves in water; must be dry; not recommended on the A series with AMS lite |
Bambu's support spools carry an RFID tag, so the AMS recognises them, and when you pick one as the interface filament Bambu Studio offers to set the matching support parameters for you. Since version 2.0 it also adds two slow transition layers under non-organic tree supports to form a cleaner interface. If you use Bambu ABS or ASA as a support material instead (see below), nothing is set automatically and you enter the values yourself.
Matching pairs only
Bambu warns that mismatched pairs can clog the extruder or nozzle: Support for PLA under ABS, ASA, PC or PAHT-CF, or Support for PA/PET under PLA or PETG. And on a Cool Plate SuperTack, Support for PLA/PETG on the first layer damages the plate; Bambu Studio refuses to print it there, so either keep it to the interface or add a raft of at least two layers.
The free option: PLA and PETG support each other
Before buying a support spool, check what you already have. PLA and PETG bond poorly to each other, and Bambu documents exactly that as a support pair: PETG models on a PLA interface, or PLA models on a PETG interface. In Bambu's comparison, the PETG model with PLA supports came out with a cleaner underside and supports that came off more easily than an all-PETG print.
- Only Bambu PLA Basic with PETG Basic or PETG HF. Matte, Silk, CF, translucent and third-party versions are outside Bambu's guide.
- Interface only. Using the second material for the whole support base risks it detaching from the model, according to Bambu.
- Temperatures: PLA Basic at 230 °C for all layers, bed at 60 °C, on a Smooth or Textured PEI plate. PETG Basic as the support runs at its default temperature, PETG HF at 265 °C, and for either Bambu caps the maximum volumetric speed at 10 mm³/s.
- Enclosed printers (Bambu names the X1, P1S and P2S): open the door or top cover, otherwise the chamber gets too warm for the PLA.
- Dry both spools. PETG runs hot enough that any moisture in the PLA turns into stringing and oozing.
Bambu's timing example from a dual-nozzle printer (the guide sits in its H2D section) shows why the interface-only rule matters for time. Printing the whole support in PLA under a PETG model took 5 hours 3 minutes, because the toolhead switched nozzles on almost every layer at about five seconds per change plus a purge. Printing the support base in PETG and only the interface in PLA cut 1 hour 20 minutes and roughly halved the filament going into the prime tower.
PVA: for the geometry you cannot reach
PVA dissolves in water, which makes it the answer for internal channels, enclosed cavities and anything a pair of pliers cannot get into. It is also the most demanding filament Bambu sells, and almost every PVA failure is a moisture failure.
- Print the whole support in PVA, base and interface, with normal supports. Bambu strongly advises against tree supports here, because tall, thin branches of PVA tend to collapse mid-print.
- Dry it, then keep it dry. In a box at 20 % relative humidity, freshly dried PVA stays usable for one to three days. In a room at around 55 %, it degrades within one to three hours. Bambu recommends calcium chloride desiccant for storage, as silica gel cannot keep PVA dry for long. Put it away while it is still warm from drying.
- Not for PETG models, and not recommended with a 0.2 mm nozzle.
- Dissolving takes hours, sometimes more than ten. Warm water and stirring speed it up, but keep the water at or below 50 °C for PLA parts so they do not deform.
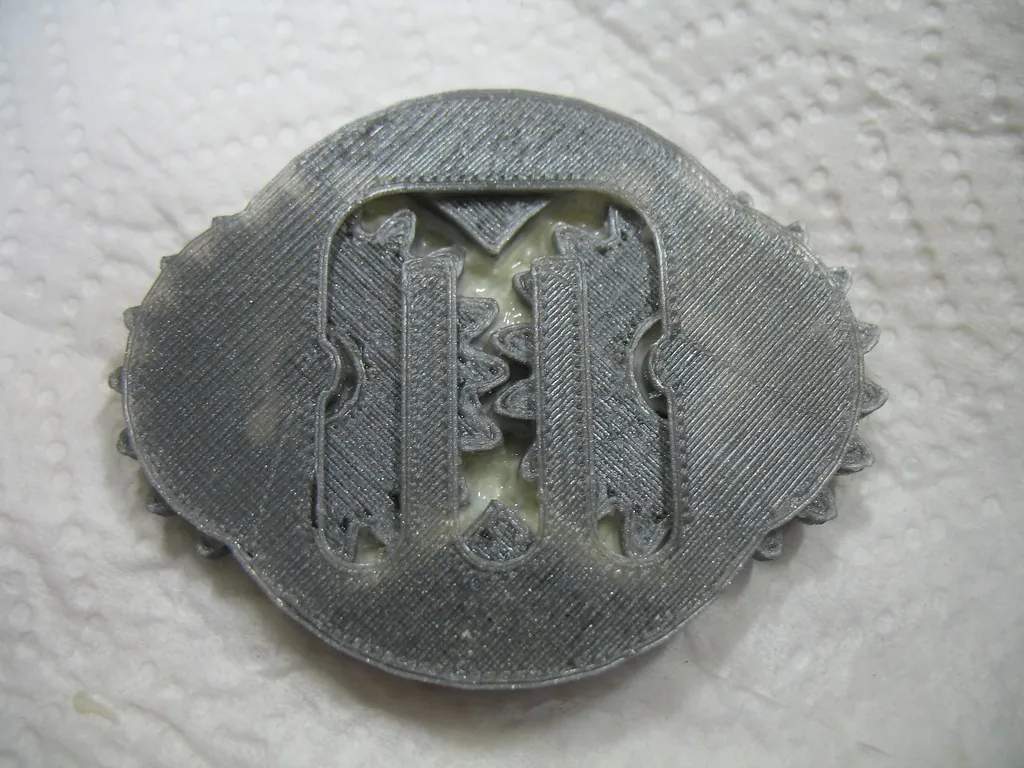
Bambu publishes ready-made PVA project files for the X1C and the H2D in its PVA guide; importing your STL into one is the fastest way to start from settings that work.
Damp PVA clogs nozzles
Moist PVA that reaches a nozzle at around 190 to 210 °C turns its water into steam inside the melt zone, and Bambu names that as the cause of extruder clogs. Damp PVA also turns soft and sticky, at which point Bambu says it is no longer suitable for the AMS or AMS lite at all. Bambu's quick check is a bend test: properly dried PVA feels stiffer than PLA Basic.
Support for ABS, and ABS or ASA under engineering filament
Support for ABS is based on high-impact polystyrene (HIPS). It barely absorbs moisture, so it usually goes in without drying, and it can be dissolved in d-limonene as well as broken off. If you dissolve it, follow Bambu's safety notes: fluororubber gloves rather than latex, which limonene swells, good ventilation, and nowhere near a heated bed, since limonene's flash point is only about 48 °C. Bambu also advises against variable layer height with this filament.
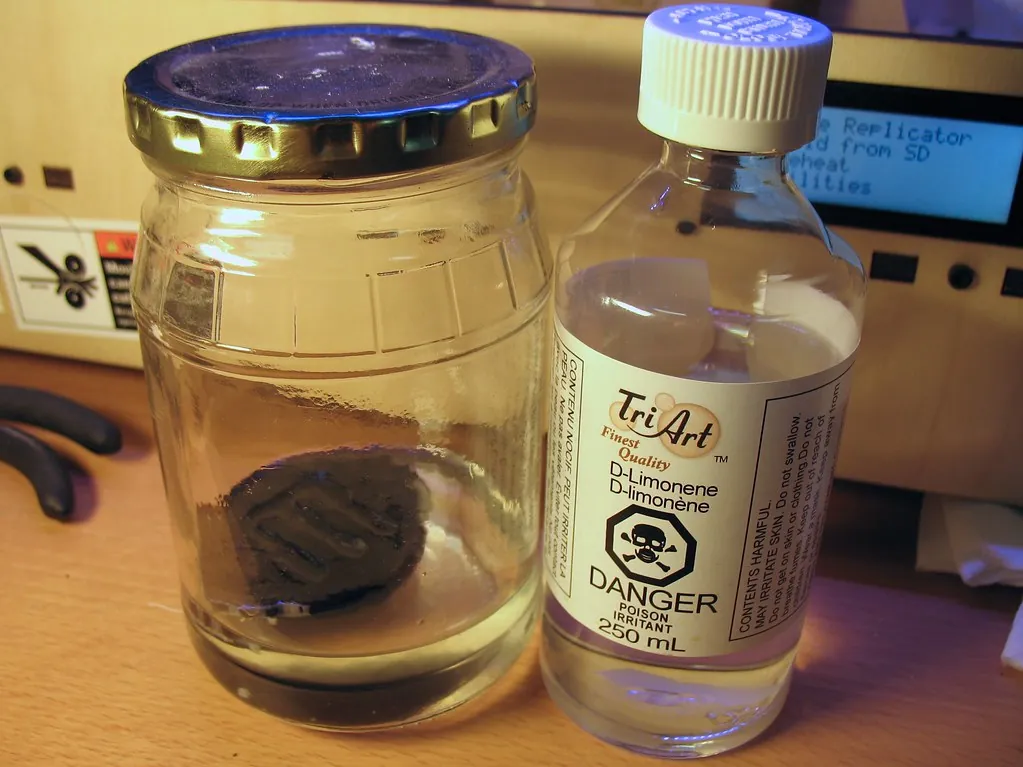
For high-temperature engineering filaments Bambu recommends ordinary ABS under PA6-GF and ASA under PA6-CF, PET-CF, PAHT-CF, PPA-CF and PPS-CF. On single-nozzle printers, use them for the interface only. On dual-nozzle printers Bambu recommends ASA for the whole support under PA6-CF and PAHT-CF, because in its tests an ASA interface alone adhered too weakly to those two and risked falling off.
One nozzle or two: what your printer changes
Every Bambu printer can print support filament, but how it gets there differs, and that decides how much a second material costs you in time and waste.
| Printers | How the support material is printed | What follows |
|---|---|---|
| A1 mini, A1, A2L | One nozzle, filament swaps through the AMS lite or, via a hub, an AMS | Every swap is a purge; Bambu does not recommend PVA on the A series, and lists Support for PA/PET and Support for ABS as incompatible with the A1 series |
| P1S, P2S, X1C, X1E, H2S | One nozzle, swaps through an enclosed AMS | Every swap is a purge; interface-only keeps the swaps to a few layers |
| H2D, H2D Pro, X2D | Support material in its own, second nozzle | A nozzle change instead of a full filament swap; Bambu's X2D page: the main nozzle prints the part, the auxiliary nozzle handles the support |
| H2C | Second nozzle plus the Vortek hotend changer on the right | Support filament strategy as on the H2D; PVA not with the 0.2 mm hotend |
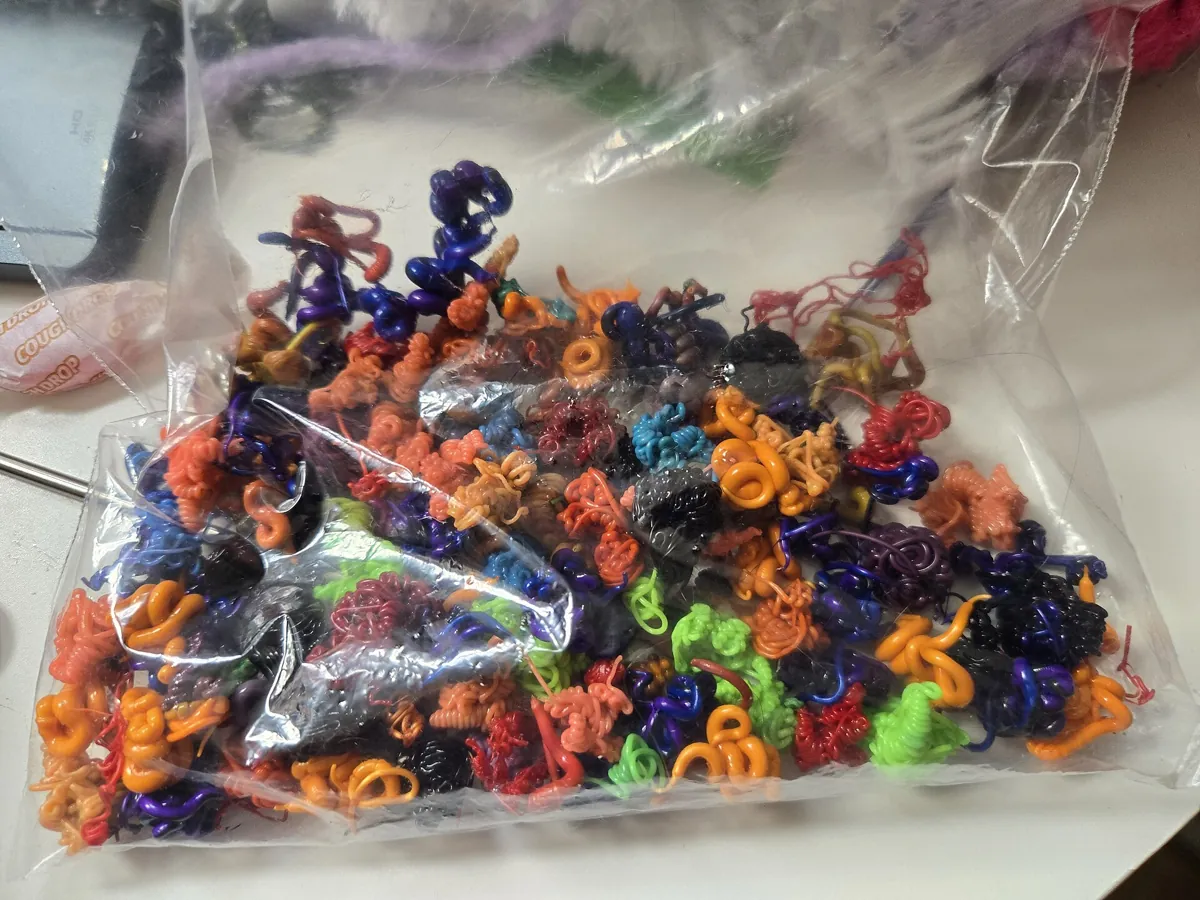

On a single-nozzle machine there is a side effect worth knowing about. Bambu describes it for ABS with Support for ABS: the model layers printed at the same height as the support filament come out somewhat weaker. Two things cause it. The swap and purge stretch the layer time, so the model cools more between layers, and some support material stays in the nozzle and mixes into the next model lines. Bambu's countermeasures follow from that: raise the flush volume from support filament to model filament (it suggests 800 for Support for ABS to ABS), switch off Flush into objects' infill/support, turn on Avoid interface filament for base, increase the prime tower's wiping volume, and orient the part so that load does not pull along the layers at that height. Bambu only documents this pairing in detail, but the same two causes apply whenever a single nozzle switches between model and support material.
For more on what the purge costs per filament change, and how Bambu's Vortek system sidesteps most of it, see our H2C explainer; for the dual-nozzle machines, the X2D and H2D pages.
Put supports only where they matter
Auto supports are a starting point, not a verdict. Bambu Studio has four ways to overrule them:
- Support painting. Select the object and open the painting tool in the top toolbar. Left mouse paints enforcers (green), right mouse paints blockers, Shift plus left mouse erases, Alt plus the mouse wheel changes the pen size. Fill and Gap fill paint whole connected surfaces. With an auto type, painted and automatic supports are both generated; with a manual type, only painted areas get support. Since 1.10 you can also paint vertical walls, which props up tall, thin parts that would otherwise wobble.
- Support blocker objects. Right-click the model, choose Add Support Blocker, and move the cube over a region. Faster than painting for large flat areas.
- On build plate only. Supports may stand on the plate but never on the model itself, which saves you from scars on surfaces you care about.
- Critical regions only. Bambu Studio's overhang detection handles special cases on its own: tiny overhangs that need no support at all, cantilevers held at only one end, which get support even when small, and sharp tailsBambu's term for a part that hangs in the air far from the rest of the model. Supporting only its lowest point is not enough, so the support surrounds it over a longer height.. With Support critical regions only switched on, the slicer supports just those cantilevers and sharp tails and leaves ordinary overhangs alone.
Bridges are a separate case. A short flat span supported at both ends prints fine on its own. For normal supports you can stop the slicer from supporting bridges; for tree supports the Max bridge length setting decides from which length on a span gets support, and then only at points along it.
Fixes for the problems people actually post about
The supports are welded on
Check the top Z distance first: in single-material prints it should be around 0.2 mm, never zero. Then make the interface less grippy. Bambu's suggestions are a faster support interface speed, more interface layers with a complete, connected interface on tree supports, and a faster bridging speed of around 100 to 150 mm/s. With normal supports, the Grid style is the one Bambu recommends for removal. If the part sat for a while in humid air, dry it and try again; that is not a joke, it is in Bambu's own guide.
The underside is rough or droopy
Go the other way: a third top interface layer, a slightly smaller top Z distance, or support interface ironing on a current Bambu Studio. With a support filament, Bambu suggests the Concentric interface pattern for curved undersides and, for the best surface, an interface spacing close to zero. For fragile filaments such as Silk PLA, Bambu advises moving tree supports off their default Hollow pattern. In Bambu Studio that is the base pattern (Support → Base pattern): Bambu's wiki files the tip under the interface pattern, but Hollow is only offered as a base pattern.
A visible band or weak layers at the support height
This is the single-nozzle side effect described above: swaps stretch the layer time and leave support material in the nozzle. Apply Bambu's countermeasures (more flush toward the model filament, no flushing into the object, Avoid interface filament for base), and keep support filament to the interface. With any support filament, if the supported surfaces show strings or gaps, Bambu suggests roughly doubling the purge volume, for example from 30 to 60 mm³.
The model does not stick to the support filament
The opposite of the first problem, and it happens with support filaments because they are built not to bond. Lower the support interface speed, and if needed reduce the gap. Both make the support more stable at the cost of easier removal.
Tree supports topple or float
Update Bambu Studio first: the floating-branch and mid-air-root fixes arrived in 2.8.2. If branches still fall over, switch to Tree Strong or Tree Hybrid, or give the tree supports a brim; its width has been adjustable since version 1.7. For PVA, do not use tree supports at all.
Supports where you did not want them
Paint a blocker over the area, or switch on On build plate only. If the support is clinging to a wall rather than to an overhang, check that the XY distance has not been lowered from 0.35 mm.
Default first, then one change at a time
For a single material, leave Tree (auto) and the 0.2 mm gap alone, switch to Hybrid or Normal when a model has big flat undersides, and add a third top interface layer or support ironing when the underside matters. With an AMS and PLA, a PETG Basic interface at zero gap is the cheapest upgrade there is; buy Support for PLA if you print supported models often. Keep PVA for shapes you cannot clean any other way. This is our reading of Bambu's documentation, not the result of our own test series.
Common questions
What are Bambu Studio's default support settings?
Supports are off until you enable them. Once enabled, Bambu's base process profile uses Tree (auto) supports, a 30 degree threshold angle, a 0.2 mm top and bottom Z distance, a 0.35 mm gap between support and model walls, and two top and two bottom interface layers. The style is chosen automatically: Tree Organic in most cases, Tree Hybrid when a support material or adaptive layer height is in use.
Should I use tree or normal supports on a Bambu printer?
Use normal supports under large flat overhangs, where they give the better surface. Use tree supports for figures and other models with many small or curved overhangs, where they use less material and time at similar quality. Tree Hybrid combines both and is a safe general choice. For PVA, Bambu advises normal supports because thin tree branches can collapse.
Can I use PETG as support for PLA on a Bambu printer?
Yes. Bambu documents PLA Basic and PETG Basic as a mutual support pair because the two bond poorly. Use the second material only for the support interface, print on a Smooth or Textured PEI plate at a 60 degree bed, and open the door or top cover on enclosed printers. Bambu's guide covers only its own PLA Basic and PETG Basic or PETG HF, not Matte, Silk, CF or third-party filament.
What top Z distance should I use in Bambu Studio?
Keep the default of about 0.2 mm when the support is printed in the same material as the model; at zero it becomes very hard to remove. Set it to 0 only when the support interface is printed in a dedicated support filament such as Support for PLA, Support for PLA/PETG or Support for PA/PET. A larger gap is easier to remove, a smaller one gives a better underside.
Can I print PVA supports with the AMS lite?
Bambu does not recommend it. The AMS lite is open, so dried PVA picks up moisture again during the print. If you try it anyway, Bambu advises keeping such prints to about an hour. On enclosed AMS units the filament should stay below 20 percent relative humidity.
Related: Bambu Studio basics · Materials guide · Filament dryers for Bambu printers · AMS desiccant · Troubleshooting
Sources. Support types, styles, the threshold angle, top Z and XY distance, interface layers and patterns, tree options, critical overhangs and the two-hour removal rule: Bambu Lab Wiki, Support. Default values: Bambu Studio base process profile fdm_process_common.json on GitHub (master branch, read October 2, 2026; the 0.20 mm Standard presets for X1C, P1P, A1 and H2D do not override the support values). Base and interface pattern options (Hollow is a base pattern only): Bambu Studio source PrintConfig.cpp on GitHub (master branch, read October 4, 2026). Support filaments, compatibility limits, drying, storage, PVA clogging and the troubleshooting values (bridging speed, purge volume, interface speed): Support Filament Usage Guide. PVA settings, humidity figures, calcium chloride and dissolving: PVA Printing Guide. Layer adhesion at support height, flush 800, limonene: Support for ABS Printing Guide. PLA and PETG as mutual supports, temperatures and the H2D timing example: Using PLA Basic and PETG for support. Painting, blockers and vertical painting: Support Painting Guide. SuperTack restriction: Support for PLA/PETG with Cool Plate SuperTack. H2C: H2C Filament Printing Guide. X2D auxiliary nozzle: bambulab.com/en-us/x2d. Feature history: Bambu Studio release notes 2.0.0 (transition layers, automatic support-material setup), and on GitHub 2.3.0, 2.5.0, 2.5.3 and 2.8.2 (Z covering XY, interface ironing, tree base chamfer, floating-branch fixes). All checked October 2, 2026; the default values and the release list re-checked October 4, 2026. We have not run our own print tests for this guide; settings, figures and timings are Bambu's. Photos: Wikimedia Commons and Flickr under the Creative Commons licences named in each caption; they show other people's prints, not our own.